
Define the room and its editing policy
Set units, drawing grid, snapping, room dimensions, wall defaults, and available editing tools. The platform keeps interaction defaults separate from saved wall instances, so changing a future default does not silently rewrite a completed layout.
Create or review the floorplan
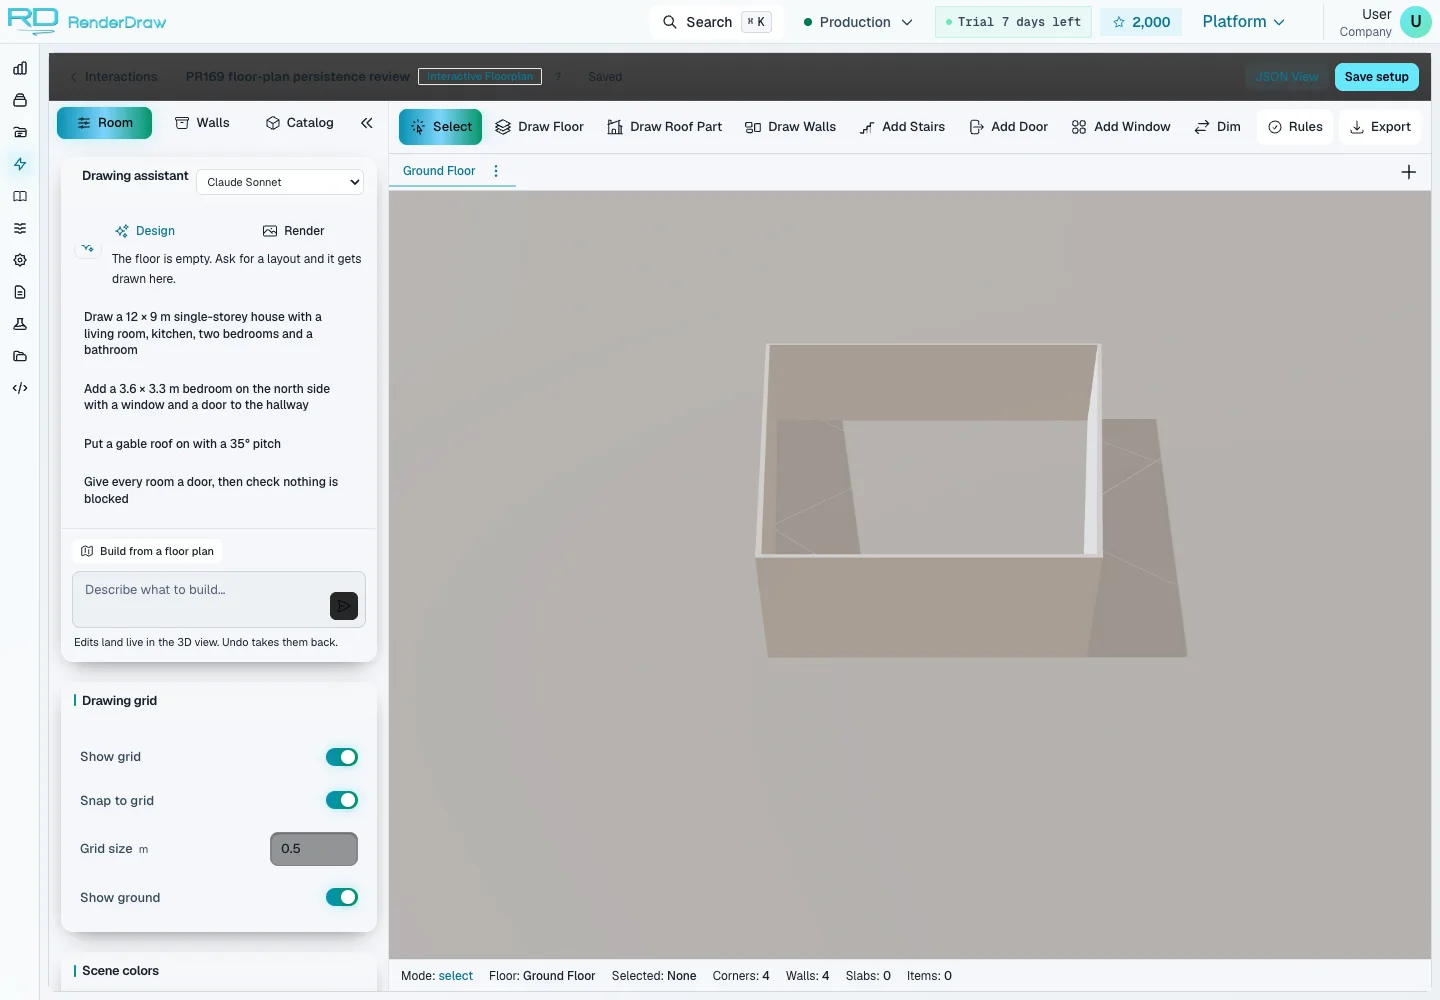
Draw the room manually or use the platform's supported floorplan import workflow. Add and inspect walls, doors, and windows. For an imported drawing, review the source page, reported scale, geometry, and openings; extracted results need review before use.
Connect eligible catalog components
Link a tenant catalog, choose eligible entries, and map component, door, or window roles. Define dimensions, expansion axes, minimum and maximum sizes, and placement policy where supported. A missing or failed catalog should remain visible rather than silently substituting sample products.
Place products and inspect the result
Position and rotate components, edit numeric dimensions, and move between floorplan and spatial views. Inspect configured placement and clearance checks. A valid demo arrangement is not an engineering calculation, an installation specification, or regulatory approval.
Save a layout with its product context
The platform's saved building retains wall and opening geometry plus component catalog provenance, dimensions, position, rotation, and configuration state. Authenticated, tenant-scoped persistence controls access to the saved layout. The public platform demo keeps edits in the browser and does not overwrite the published layout.
Confirm the commercial handoff
Decide how placed products and their dimensions map into pricing and the destination quote or proposal. Verify pricing ownership, connector support, validation, and the downstream document workflow for your deployment. A layout is useful context; commercial approval remains a separate decision.
Salesforce: The layout belongs with the quote.
Bring the floorplan editor into a configured Salesforce quote journey. Reps work with the space, review the layout, and return an accepted configuration and preview image to the connected host. Map Salesforce Product2 and PricebookEntry records so product identity stays consistent across the visual and commercial experience. Start with the customer: Open the editor from your configured Salesforce experience with the quote and product context. Configure the space: Edit the building, place eligible products, and review the layout before accepting it. Return to the quote: The connected host saves the accepted layout and attaches its preview image to the quote. Salesforce catalog sync works with standard product and price book records. Revenue Cloud adds its own configured commercial flows. Host setup, permissions and record mappings are required.
CPQ & pricing: Keep your pricing authority in the loop.
Connect the visual journey to your configured product and pricing workflow. RD Platform includes integration paths for Salesforce Revenue Cloud, Logik and SAP Advanced Variant Configuration, alongside RenderDraw Pricing Studio. Map placed products and configuration choices to the selected provider; validation, pricing and quote capabilities follow that provider and your deployment. Map the product: Match catalog identities and configuration choices to the selected CPQ or pricing connection. Evaluate the choices: Use the configured authority for product rules and prices, with layout review as a separate step. Carry the result forward: Pass the mapped product context into the configured quote or proposal workflow. Provider capabilities differ. SAP AVC supplies configuration and pricing; it does not provide a native quote object through this adapter. Commercial writeback is verified for each deployment.
ERP & catalog: Give every placed product a real identity.
Connect eligible products to the systems that own their data. RD Platform has NetSuite REST integration infrastructure and configurable REST data sources. Set up the connection and field mappings to supply catalog records, dimensions and stable product identifiers for the spatial journey. Connect the source: Authenticate the data source and define the product records your experience needs. Map the catalog: Map product identifiers, dimensions and eligible entries into the configured catalog. Retain the provenance: Keep catalog identity and placed configuration context with the saved building. An ERP connection does not automatically create an order. Destination records, write permissions and any order handoff are scoped and configured separately.
Websites & applications: Meet buyers where they already work.
Use a published platform embed for a website or portal, or configure an authenticated host for a connected application. The host integration exchanges building state and an accepted layout snapshot. Connect the destination workflow through your configured APIs and record mappings. Choose the entry point: Publish a browser demo or configure a connected application host and its allowed origin. Run the visual journey: Load the RD Platform editor with the published interaction and the intended layout context. Connect the next action: Map the accepted result into your application’s save, quote or proposal workflow. The public demo on this page keeps changes in the browser. Persistent saves and commercial actions belong to an authenticated, configured application journey.