
Tiles, boxes and edge cuts, before you start.
Enter the room, tile size, grout joint and waste. You get tiles and boxes, and a centered layout that compares starting on a joint versus a tile so you can avoid thin slivers at the walls.
- Grout joint included
- Boxes, not just tiles
- Centered layout preview
- Imperial & metric
Area
Tile
Save your results
Copy these results, then add your approved sample files in the trial brief.
Estimates only. Verify against project documents, manufacturer data and the governing code before you bid.
How much extra tile to order.
Typical starting points used by flooring estimators. Your installer, pattern and the room shape decide the final number.
| Layout | Typical waste | Why |
|---|---|---|
| Straight lay, simple room | ~10% | Edge cuts and breakage |
| Running bond / offset | 10–15% | Offsets create more partial pieces at walls |
| Diagonal / herringbone | 15–20% | Angled cuts at every edge |
| Large-format (24"+) | 12–20% | Each broken or cut piece costs more area |
| Many small rooms or closets | Add 5% | More perimeter per square foot |
Ranges compiled from published flooring waste guidance; confirm against your own job history.
Why the calculator centers the layout.
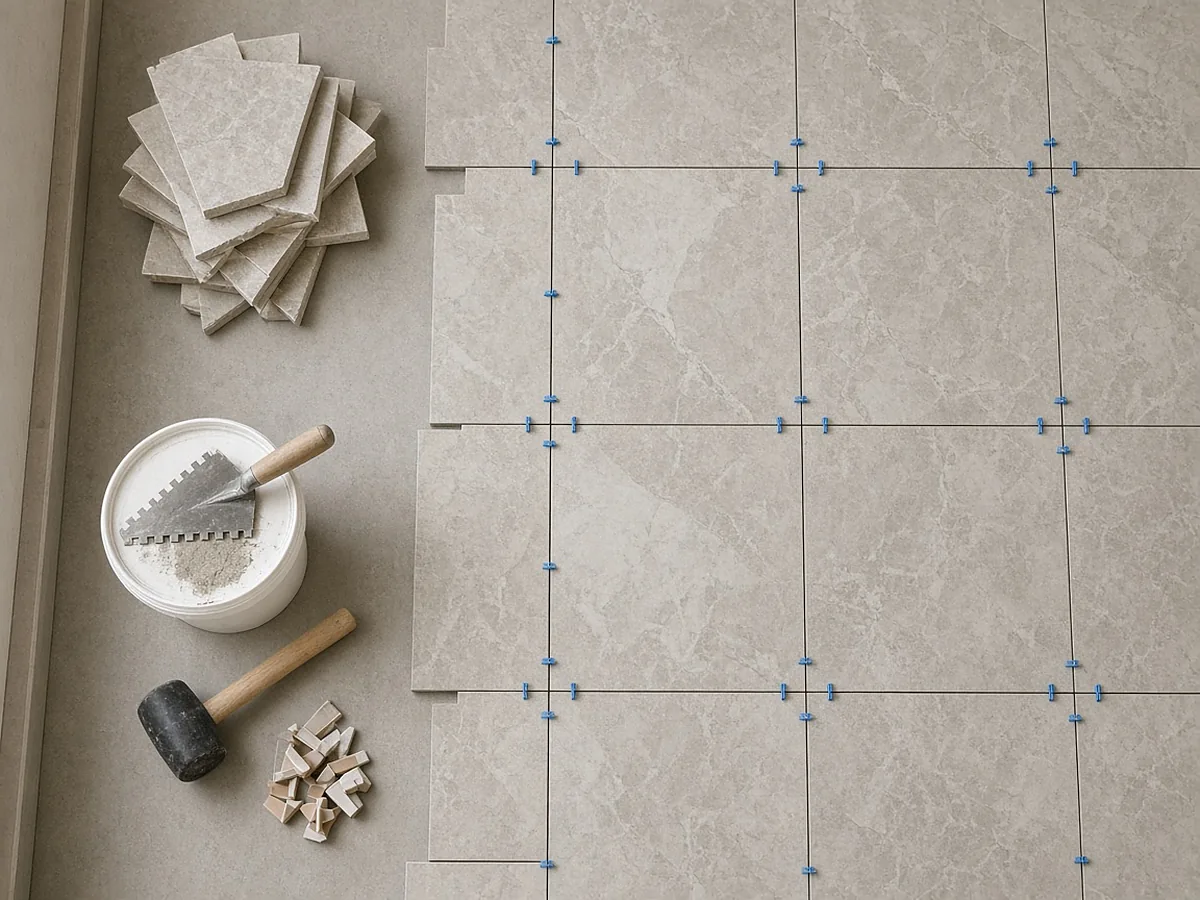
Starting at one wall leaves whatever is left at the opposite wall, often a sliver. Centering splits the leftover evenly, and comparing joint-centered with tile-centered layouts tells you which gives larger cuts.
Joint-centered
A grout line on the room center. Best when the leftover is more than half a tile.
Tile-centered
A tile on the room center. Shifts the cuts by half a tile.
Under half a tile
Flagged in the results, so you can adjust the start point or talk to the designer before you install.
Calculators check one number. Bids need every quantity.
On commercial finish plans, RenderDraw proposes room areas and finish boundaries from the drawings with the source sheet attached, then your estimator approves them before material and labor are priced.
- Source on every row. Each proposed quantity keeps the sheet and location it came from.
- Estimator approval before pricing. Your estimator accepts, corrects or rejects proposals; nothing is priced until it is approved.
- Addenda through the same review. Changed sheets go back through takeoff and estimator review.
- Your assemblies, your rates. Approved rows hand off to your assemblies, labor units and pricing inputs.
Tile calculator, answered.
How do I calculate how many tiles I need?
Divide the floor area by the area of one tile including one grout joint, then add waste. For 120 sq ft with 12×24 tiles and ⅛-inch joints that is about 60 tiles, or 65 with 10% waste.
How many boxes of tile do I need?
Divide the tile count by the pieces per box on the carton and round up. Order everything from the same lot so shade and caliber match.
How much extra tile should I order?
About 10% for a straight lay in a simple room, 15–20% for diagonal or herringbone layouts, and more for large-format tile or rooms with lots of corners.
Does grout joint width change the count?
Slightly. A wider joint means each tile covers more floor, so you need fewer tiles. The effect is bigger with small tile and wide joints.
How do I avoid thin cuts at the walls?
Center the layout, then check whether centering on a grout joint or on a tile gives the larger edge cut. The calculator shows both and flags cuts under half a tile.
Send one plan set. Judge the result yourself.
A focused, no-obligation evaluation on your own drawings. Your sample files remain private while we assess the request.
- Upload one representative plan set (a legible PDF set is the most reliable starting point), plus an addendum if you have one.
- RenderDraw reviews the set and the scope you want tested.
- We follow up with what was extracted, what was flagged for review, and the most useful next step.